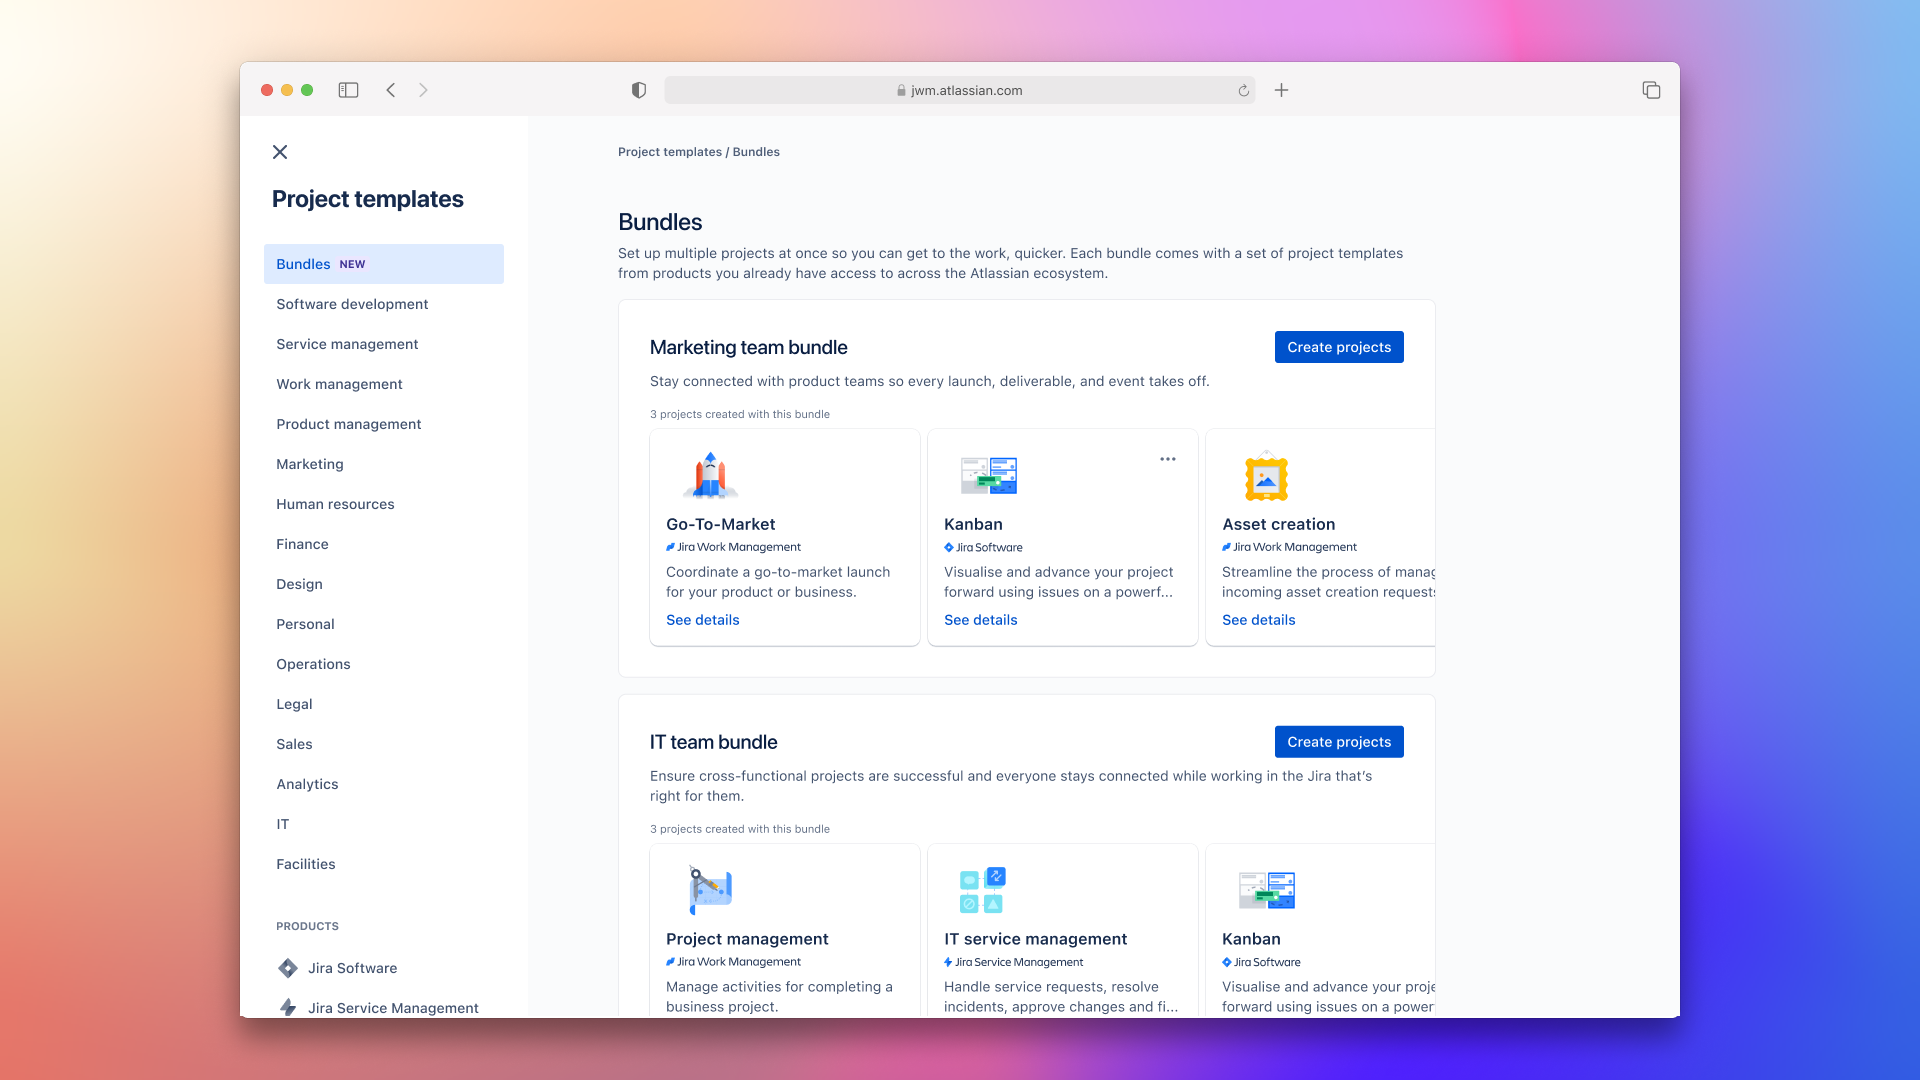
Quick project creation with bundles
With bundles, you can now effortlessly create between 2 to 6 projects at once, streamlining your project creation process and minimizing the need for repetitive manual tasks. Whether you're working in Jira or Jira Service Management, bundles guarantee a smooth project creation experience.
Choose from two pre-set bundles: the Marketing team or the IT team bundle. But if these don't fit your requirements, you have the flexibility to customize and create your own bundle.

バンドルを作成する
新しいプロジェクトを作成する方法はいくつかありますが、その 1 つは以下のとおりです。
Next to Projects in the sidebar, select Create project ().
Select Bundles.
プロジェクトを作成するもう 1 つの方法は、次のとおりです。
サイドバーの [プロジェクト] の横にある [その他のアクション] (•••) > [管理] > [プロジェクト] の順に選択します。
Select Templates, then More templates.
Select Bundles.
Use preset bundles
The project type and access you applies to all of the projects in your bundle. The project type can’t be changed later (but everything else can!). If you wish to do so, you’ll need to create a new project. More about project types and changing project types
Next to Projects in the sidebar, select Create project ().
On the Review projects in your bundle screen
Rename a project, select Edit.
Choose their project type, and update the access settings.
Select Create 3 projects.
Leave the page open — it should only take a couple of minutes. Once creates, we’ll take you to the board view of your first project.
カスタム バンドルを作成する
Next to Projects in the sidebar, select Create project ().
Select Build a bundle.
[プロジェクト テンプレートを選択する] ボタンを使用して、カスタム バンドル用にプロジェクト テンプレートを 2〜6 個選択します。
Use the template selector to search, select, and remove templates from your bundle. Once selected, hit Confirm.
次に、プロジェクトの名前を追加し、プロジェクト タイプを選択して、アクセス設定を更新します。
To rename a project, select Edit.
Choose their project type, and update the access settings.
Select Create projects.
Leave the page open — it should only take a couple of minutes. Once creates, we’ll take you to the board view of your first project.
バンドルを最大限に活用する
関連性の高いプロジェクトにユーザーを招待する
Avoid clutter and maintain efficient collaboration by inviting team members to projects that align with their roles and responsibilities. This helps improve focus, engagement, and overall productivity on projects across your organisation.
バンドル内のプロジェクト間を効率的にナビゲートする
To make things easier for you, we’ll add all the projects in your bundles to the Shortcuts view in the horizontal navigation.
Use these shortcuts to quickly navigate between projects within your bundle, without losing momentum. More about shortcuts.
この内容はお役に立ちましたか?